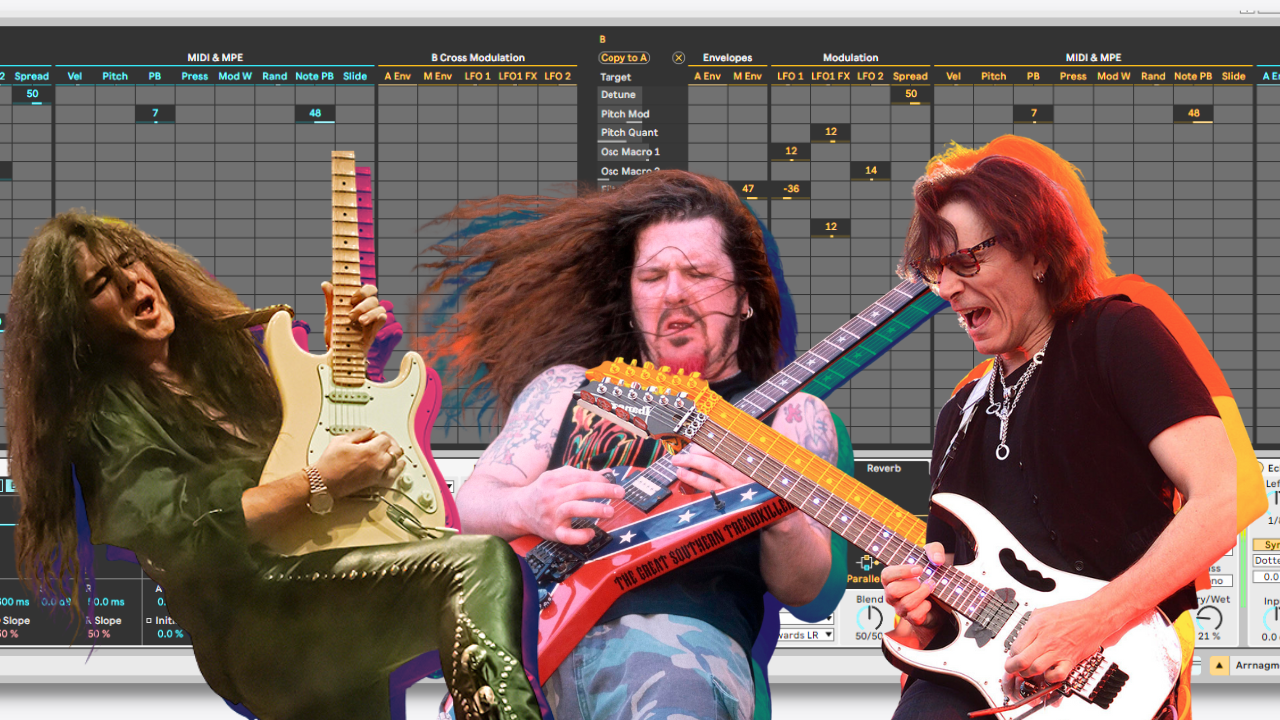
Meld is a modulation monster. We dive into making metal-inspired riffs step by step and add Roar to the mix as well.
We’ve had plenty of time to use Meld. It’s actually a very simple, well-designed device that sounds good, too. But in our first attempts, we were not able to achieve the results we wanted.
With a few more hours under our belts, we’ve found we’re in better control of it but still unexpectedly making metal-inspired riffs with it. The idea for this feature was to make Blawan-style modulated basslines, but we ended up where we are, and hopefully, it shows you some helpful pointers for how it works. The full steps are below, and you can download the MIDI pattern here.
Remember to consider liking and subscribing. We appreciate the support!
FULL STEPS
Open Meld
- Program a MIDI pattern
- Set MIDI pattern Scale Mode to In Sen
In Meld
- Turn off Part A
- Change it from POLY to MONO and turn off LEGATO
- Turn on USE CURRENT SCALE
- Click SETTINGS and add 48ms GLISS
Sound
- Turn Part B up an 1-octave
- Change waveform to Swarm Square
- Change MOTION to 7
- Change SPACING to 20
Part B LFO
- Assign a value of 12 where LFO 1 meets PITCH QUANT in the modulation matrix.
- Change LFO 1 shape to Ramp
- Change the Rate to 1
- Change the Shape to 48
- Change the Slope to 33
- Change Offset to 287
- Change LFO FX1 to S&H and dial in a value of 96
- Change LFO FX2 Skew Unipolar and dial in a value of 62.5
- Assign LFO FX1 to OSC MACRO 1 and dial in a value o 100
- Change Part B LFO 2 to a rate of 8
- Change the Part B LFO 2 shape to S&H
- Go to Envelopes for Part B and add a DECAY on the modulation envelope to 800
- On the AMP Envelope reduce the RELEASE to as little as possible
Filter
- On Part B filter, change it to LP CRUNCH 12dB
- Add plenty of Q underneath
- Add plenty of DRIVE underneath Q
- Assing the Amp Envelope in the modulation matrix to Part B’s Filter Frequency and about a value of 44
- Add some Spread
- Add Stacks to taste
- Dial in more drive, on the device underneath Stacks.
- In the modulation matrix, where Detune and Spread meet, push it to 25
Cross modulation and Part A LFO
- Go to the modulation matrix, on the far right use the CROSS MODULATION for LF0 2 and send it to LFO 1 MACRO 1 and dial in value of -25
- Change the LFO 1 shape to Wander
- Change the Rate to 2
- Change LFO FX 1 to Attenuate and a value of 30
- Leave LFO FX 2 as Fade In but dial in a value of 57
- Change the LFO 1 to 8 but leave it on Sine waveform
Roar
- Change routing to MULTIBAND
- Tweak the bands to taste. Start with BIAS!
- Add ¼ note delay with plenty of amount
- Open the modulation matrix and assign LFO 2 to BIAS on the High Band. You can apply on other bands too.
- Change LFO 2 shape and speed to taste
- Increase tone
- Increase smooth
To End
- A bit of reverb if that’s your bag
- Bit of EQ
- Bring the volume down if you haven’t already and you’re home and dry
Last thing – now mess about with the scale mode some more and see what results throw up!
Enjoy!


